PIKLE SCRIPT STRUCTURE
Learning to code with Pikle
WELCOME
In this tutorial we’ll go through the basic structure of a Pikle script and then put a sprite on the screen!
init() your game
First thing we need is a function called init(). Use this function to setup your game, assets and initial game state. Pikle will call this function just the once (*), when your script is launched.
init()
-- Initialisation - happens once
function init()
    -- setup your game here
end
update() your gameplay
Games need to refresh their logic constantly. The engine automatically calls your update() function; typically 30 times every second (depending on the performance of your device). This is where your movement, timers, and button inputs live.
update()
-- Update
-- Happens multiple times per second
function update()
    -- Your game logic goes here
end
(*) Advanced init()
You can actually get Pikle to call your init() multiple times – this can be useful if you want to implement a loading screen. Use coroutine.yield() – execution will be paused immediately and then resumed on the next game frame.
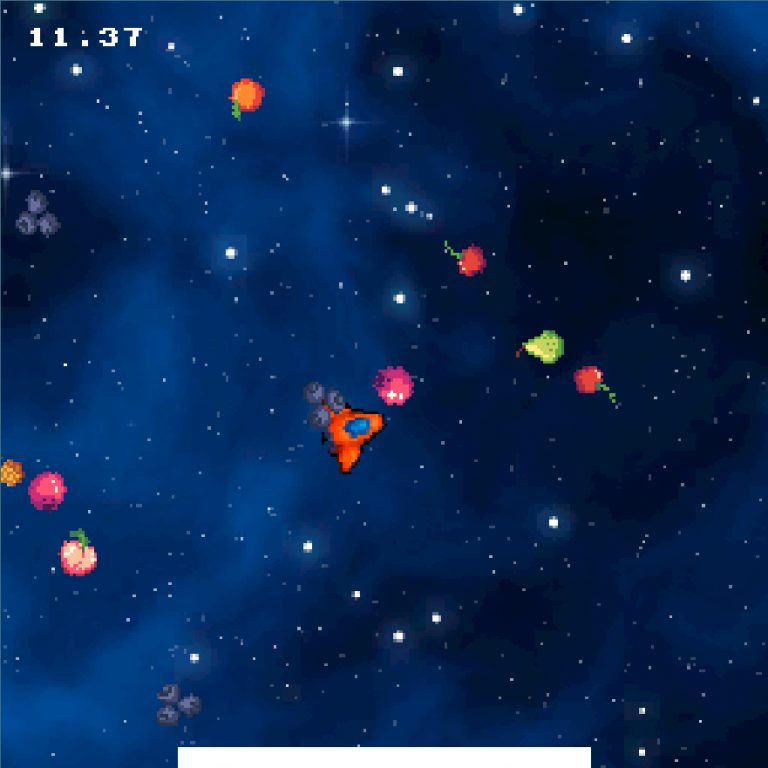
Fly a spaceship!
In the full code listing below, we initialise a sprite at the centre of the screen with the image of a spaceship.
In the update(), we move the spaceship around using the Pikle joystick.
Sprites and input will be covered in more detail in future tutorials.
FULL CODE LISTING
-- Initialisation - happens once
function init()
    -- Display some text in the
    -- Pikle Tool log window
    print("Hello world!")
    x = 0
    y = 0
    Engine.SpriteEnable(0, true)
    Engine.SpriteShape(0, 36, 2)
    Engine.SpritePosition(0, x, y, 0)
end

function update()
    local dt = Engine.TimeStep()
    local speed = dt * 100
    x = x + Engine.GetJoyState("JOY0").x * speed
    y = y + Engine.GetJoyState("JOY0").y * speed
    Engine.SpritePosition(0, x, y, 0)
end